Preparing for a glass tile installation? Make sure you add these items to your shopping list!

1. Safety Glasses
Safety is always first! Pick up a pair of safety glasses to protect your eyes when cutting your glass tile.
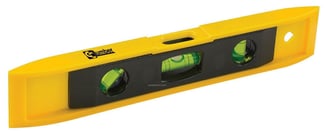
2. Level
Planning ahead is critical in any type of installation … no matter what kind of tile you’re using. Layout your design on the floor first. Do your measuring and use a level when marking your lines on the wall. Think straight! (Side note: Lowes has some really good tips for performing a pre-layout. Check it out here!)

3. Wet Saw
Are you wearing your safety glasses? Good! Now it’s time to make your cuts. Use a wet saw with a diamond rimmed blade, which is designed to cut glass. Blades designed for cutting ceramic tile should not be used as they’ll make course cuts and cause unwanted chips and irregularities along the cutting line.
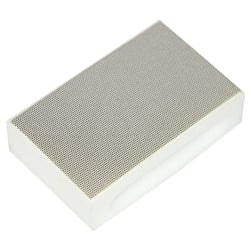
4. Diamond Hand Pad
Any sharp edges and corners that remain after cutting should be smoothed and dulled with a diamond hand pad to give a professionally finished look and feel.
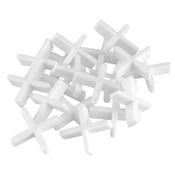
5. Spacers
Use 1/8” spacers to maintain consistent space between your tiles. As the mortar starts to dry, you can remove the spacers (and admire the perfectly equal distance that has been created between each and every tile).
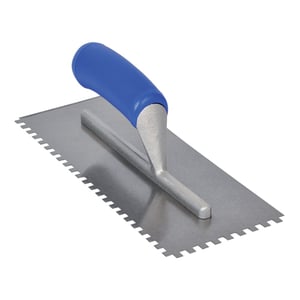
6. Square Notch Trowel
You’ll need a square notch trowel to apply your thin-set. We recommend a 1/4”x1/4” but you should always double check to see what the manufacturer suggests.
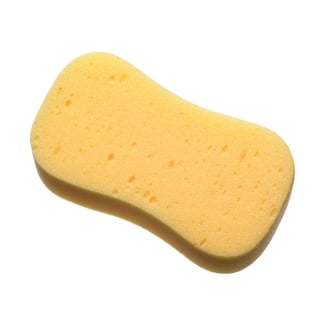
7. Sponge
A new, clean sponge is a must-have for any tile project! When you’re finished grouting, you’ll want to wipe the tiles clean with a wet sponge, applied at a 45-degree angle. (Be gentle to avoid indenting those beautiful grout lines!)
And there you have it! Seven tools to help ensure a delightful glass tile installation.